Dust, Glue & A Hairdryer
Cleaning Out The Van
Once everything had finally been removed from the inside of the van, it was time for one of the least glamorous — but most important — parts of the build… the cleaning.
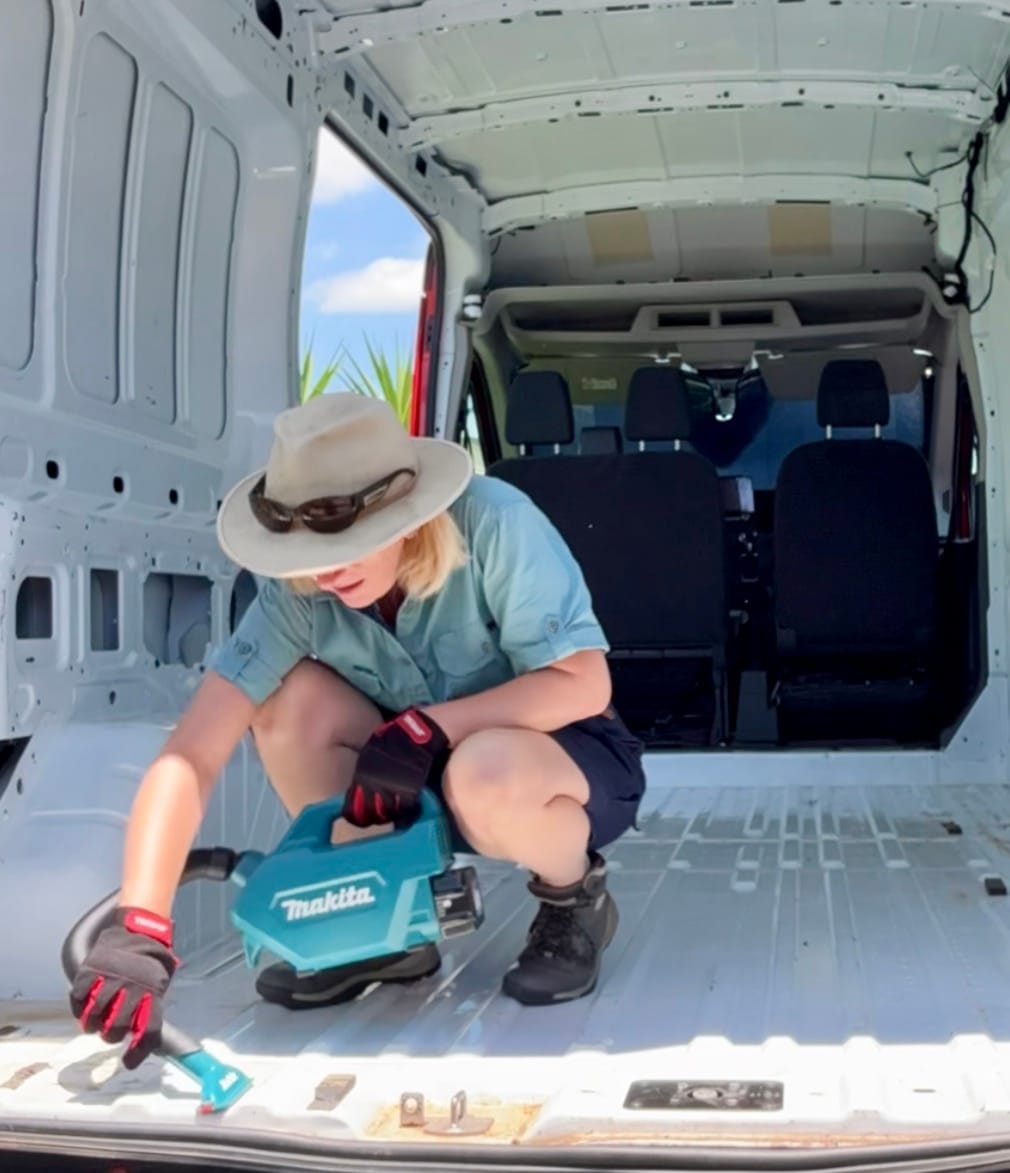
I started with the obvious things first. Sweeping out all the larger dirt, dust and debris that had built up over the years. After that, I gave the entire van a thorough vacuum.
My little Makita vacuum absolutely earned its keep during this stage. It’s lightweight, easy to carry around, surprisingly powerful for its size, and comes with multiple attachments that make getting into all the awkward corners and tight spaces so much easier. I use it constantly for the van, the car, and all those smaller hard-to-reach areas — honestly, it’s gold. You can check it out HERE.
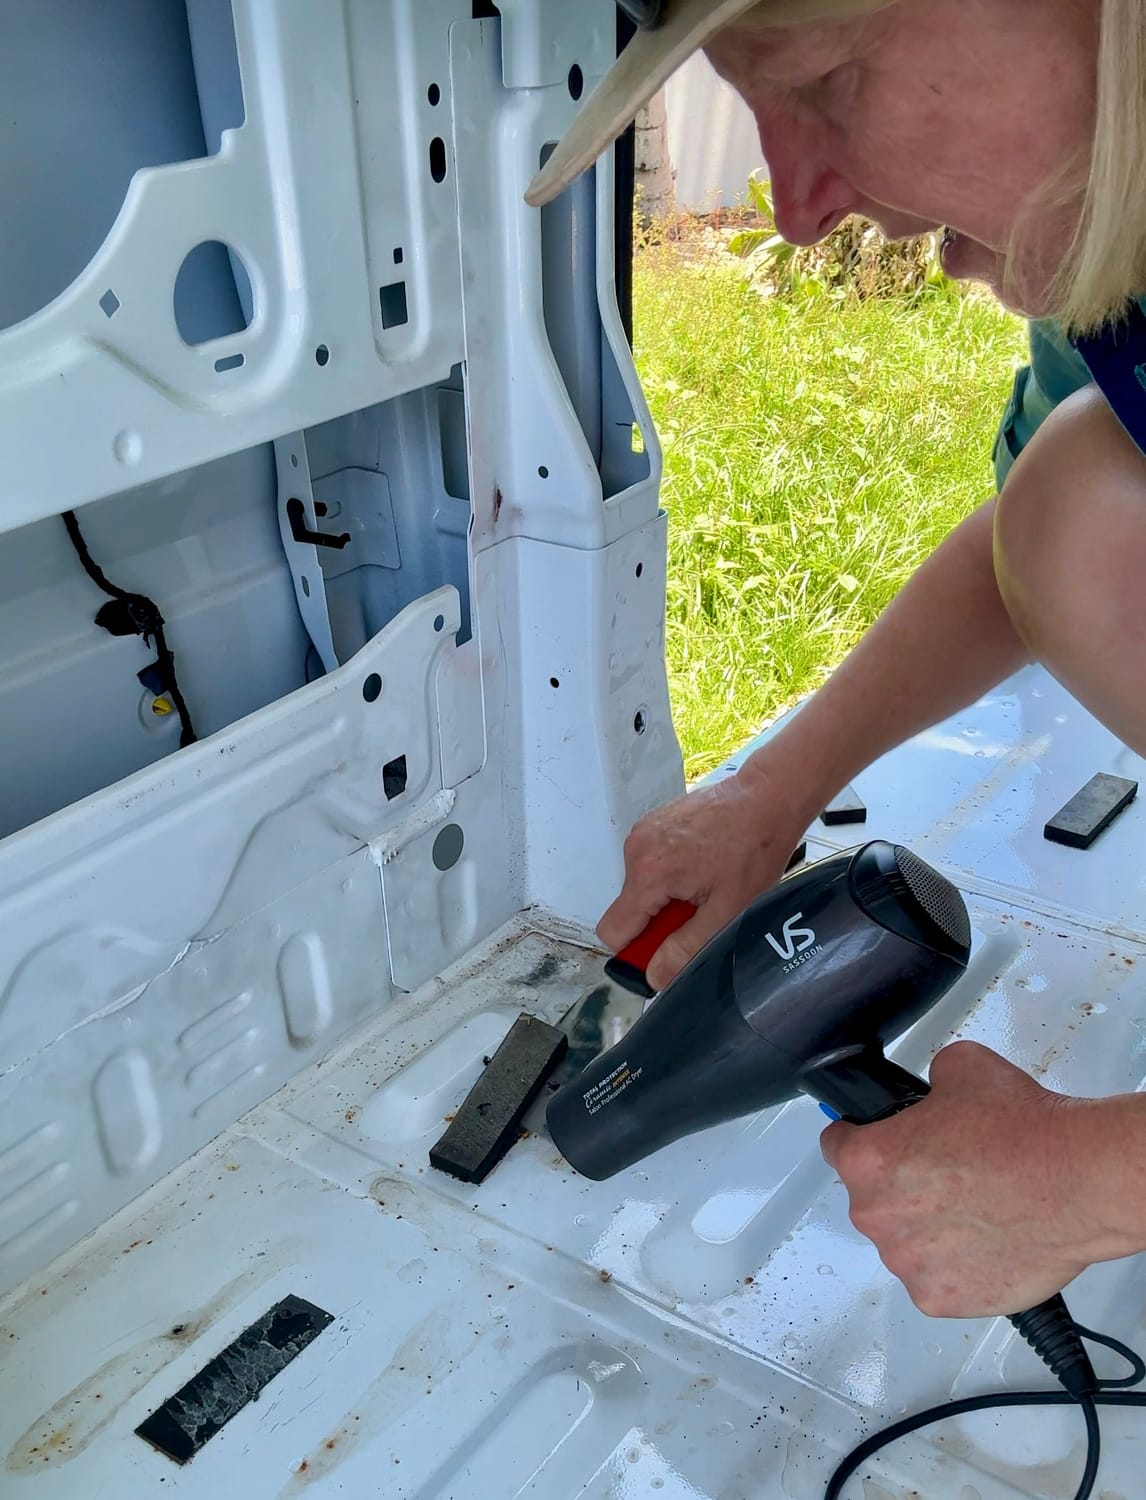
Underneath the heavy rubber cargo mat, I discovered dozens of sticky adhesive patches that had originally held the cargo mat in place.
Removing them turned out to be much harder than I expected.
After a bit of frustration (and a quick YouTube tutorial), I discovered that heat was the answer.
And of all things… my hairdryer actually worked perfectly.
Slowly, patch by patch, the adhesive started lifting away.
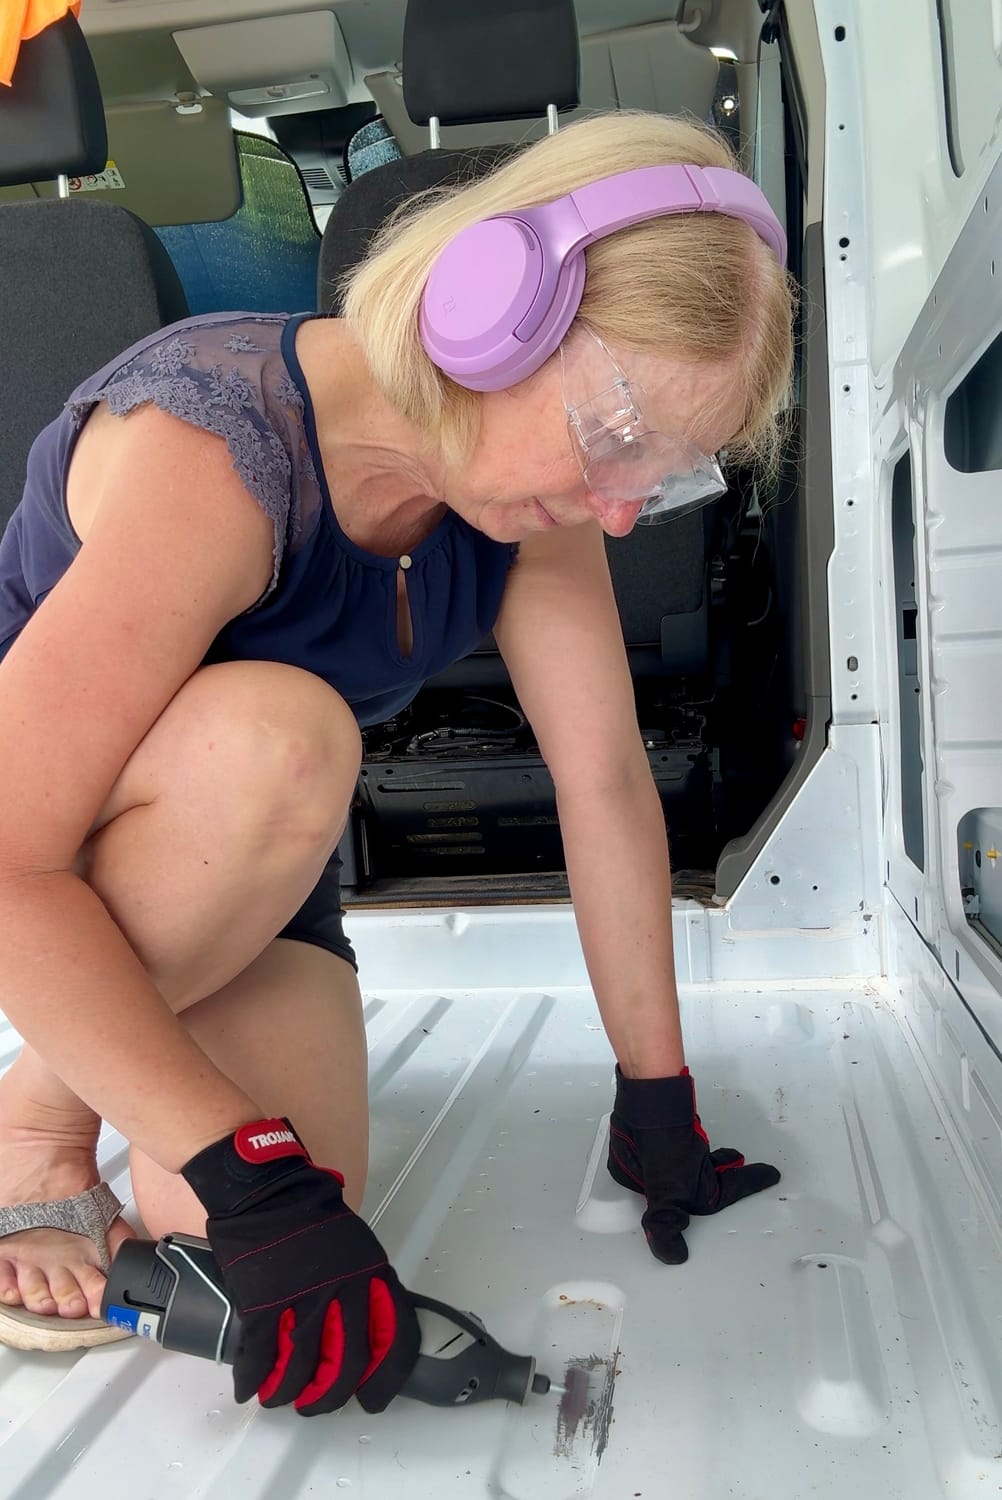
Then came the sanding process...
This part took a long time. I used my Dremel constantly during this stage — honestly one of my favourite tools — especially for the trickier areas and rust spots. It’s such a handy little tool to have during a van build because you can do so many different things with it just by changing the attachment.
I used it for sanding, grinding back rust, cleaning up awkward corners and getting into all the tiny areas that larger tools simply can’t reach.
I also love how lightweight and easy it is to handle. For detailed jobs where you need more control and precision, it’s perfect.
The Dremel is going to be one of those tools I keep reaching for throughout this entire build.
You can check it out HERE.
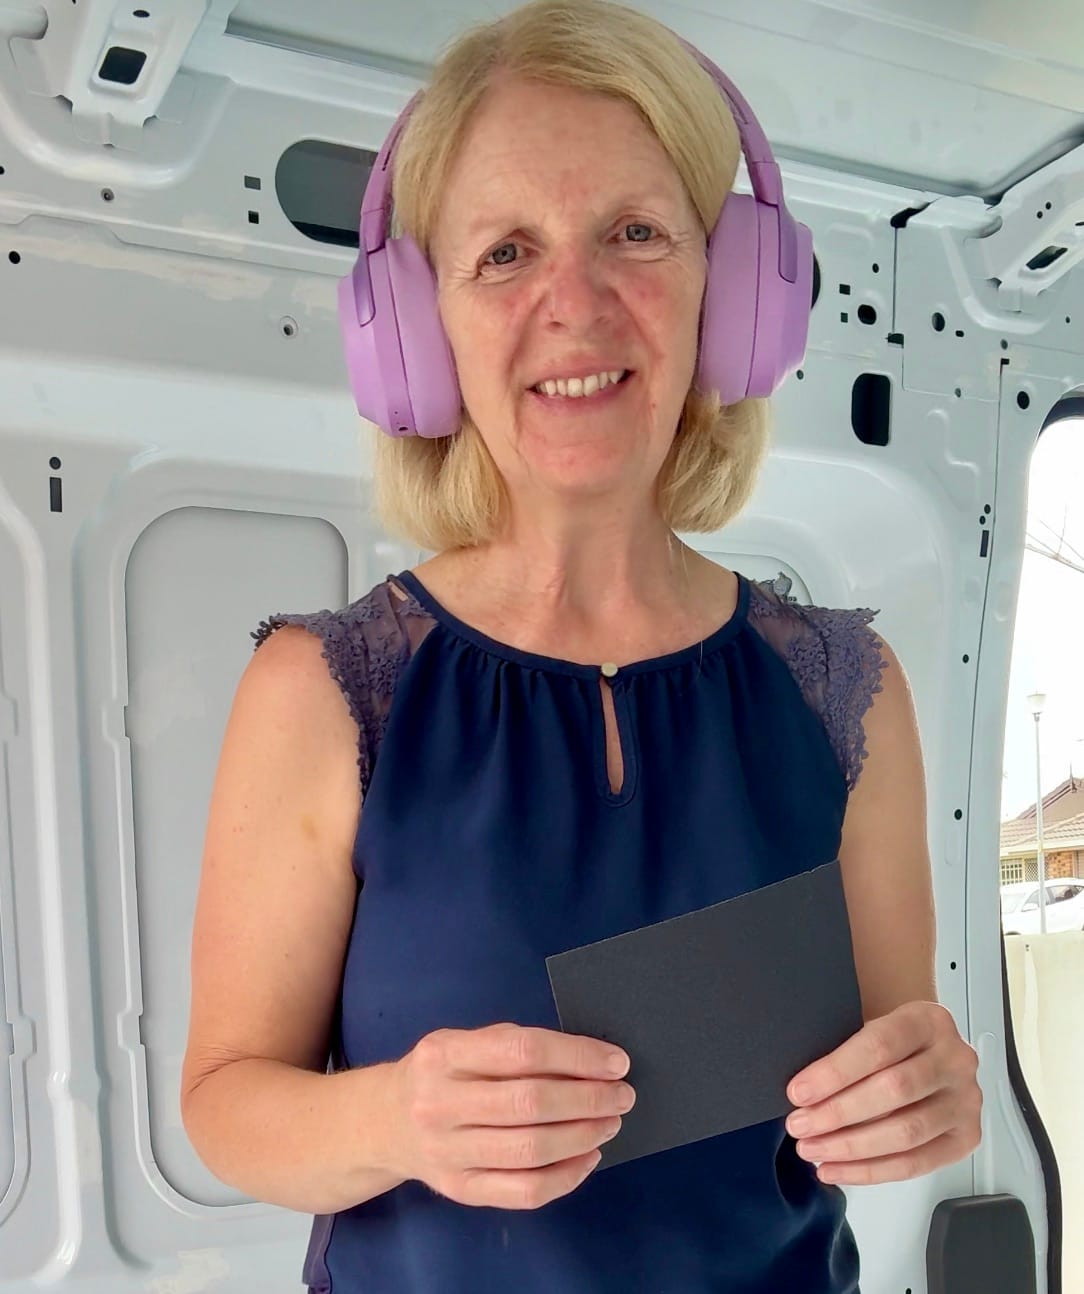
I also used regular sandpaper by hand and occasionally the orbital sander for larger sections.
Once everything was sanded back properly, I filled as many holes as I could find, particularly in the floor.
I used Knead-It Polymer Repair Compound for filling the holes. The texture feels a bit like blue-tac or plasticine at first, but once you break off a piece and start kneading it in your fingers, you need to work fairly quickly because it begins to harden not long after being moulded into place. I found it to be really effective.
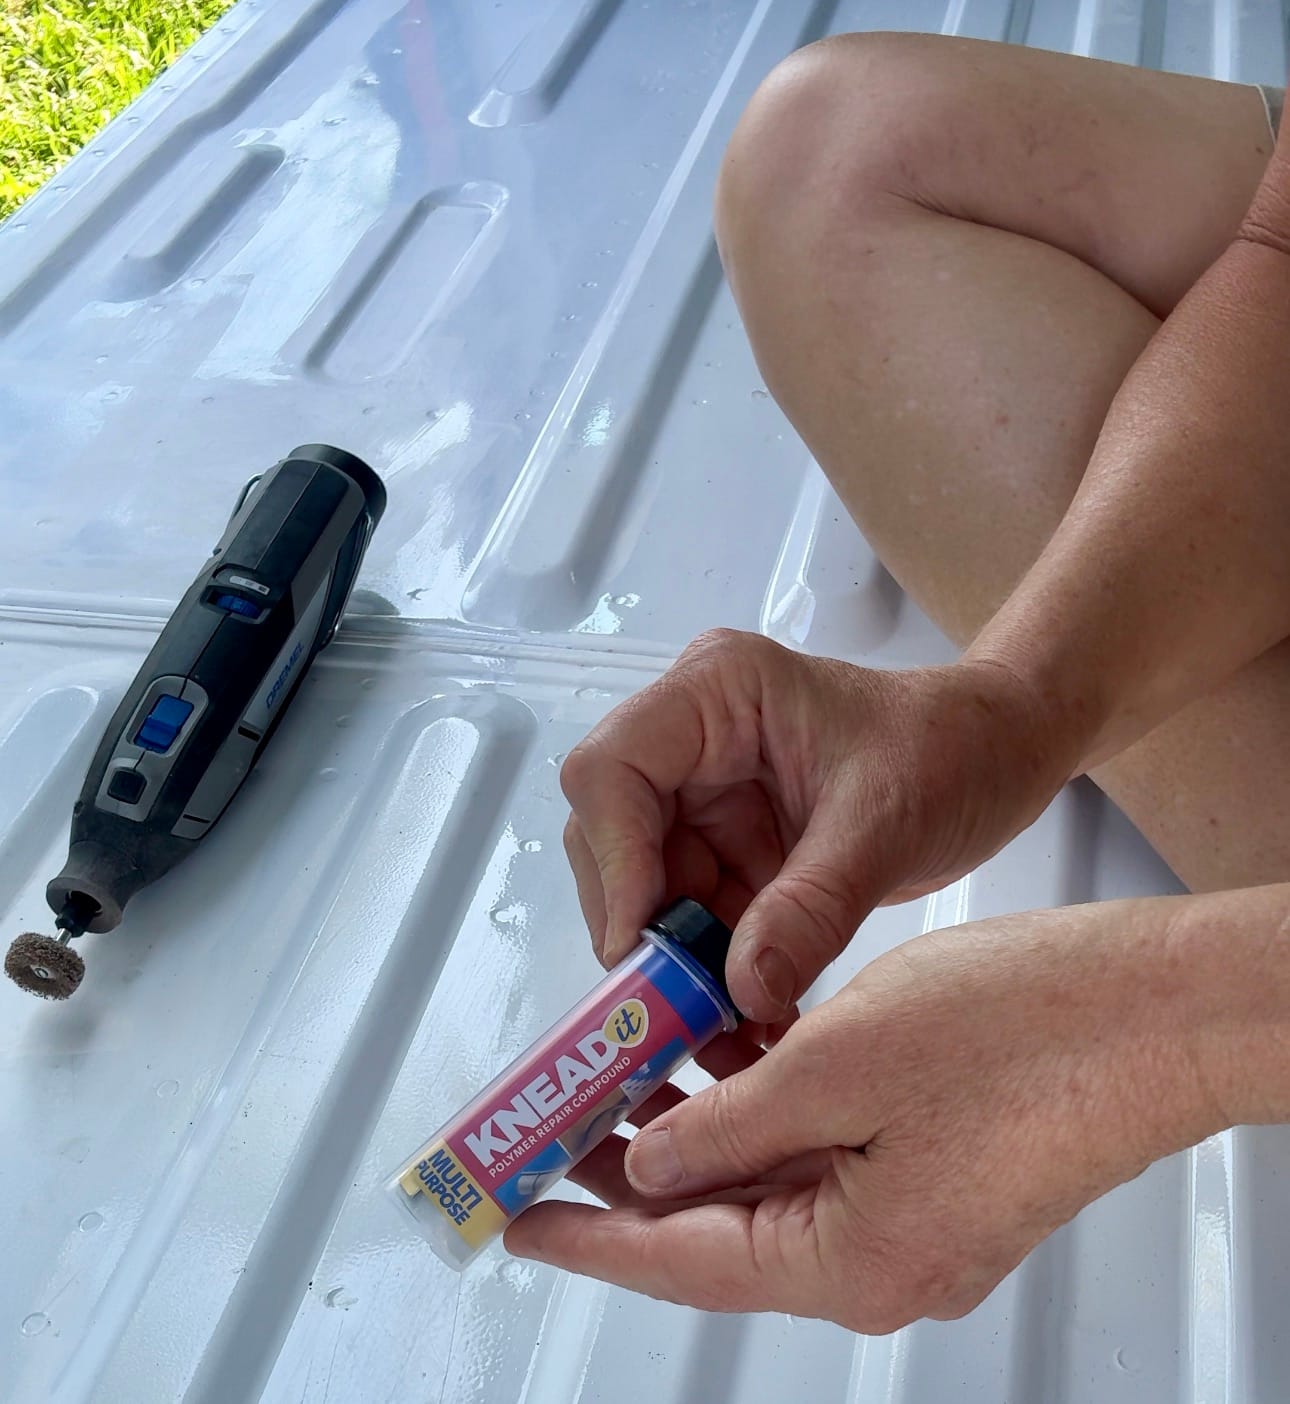
Check it out HERE.
(Another thing I learned along the way.)
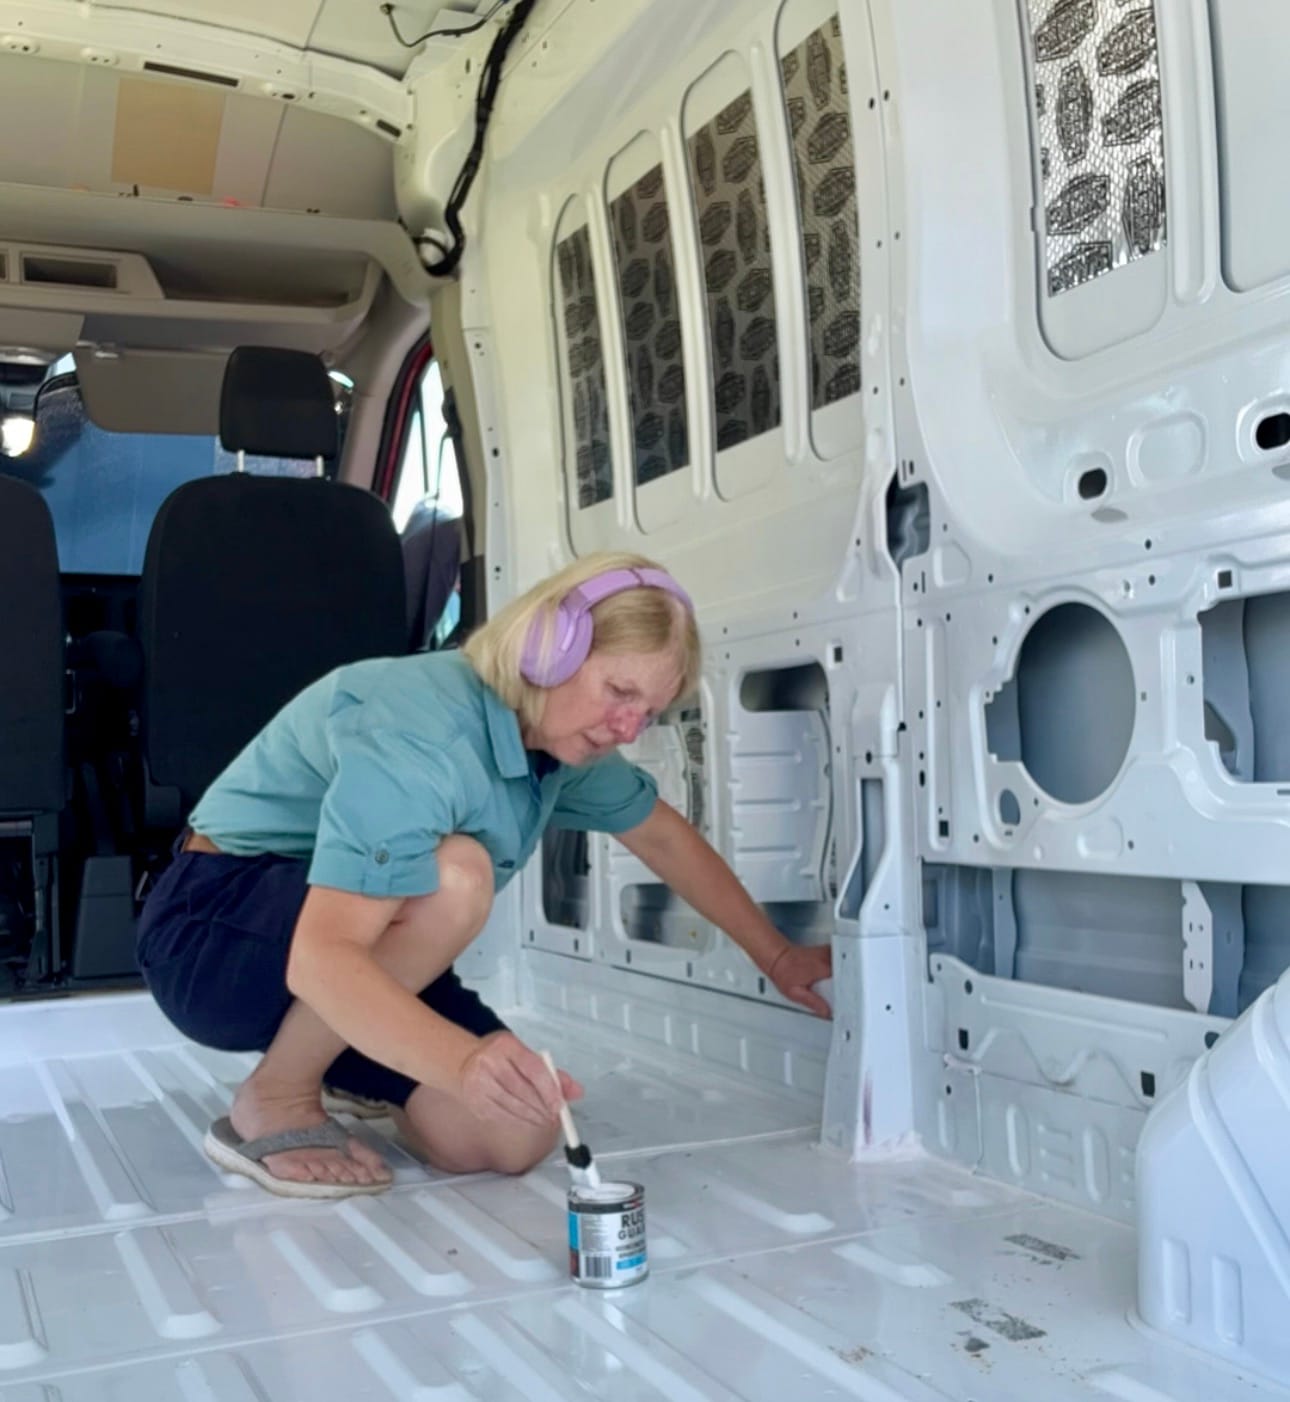
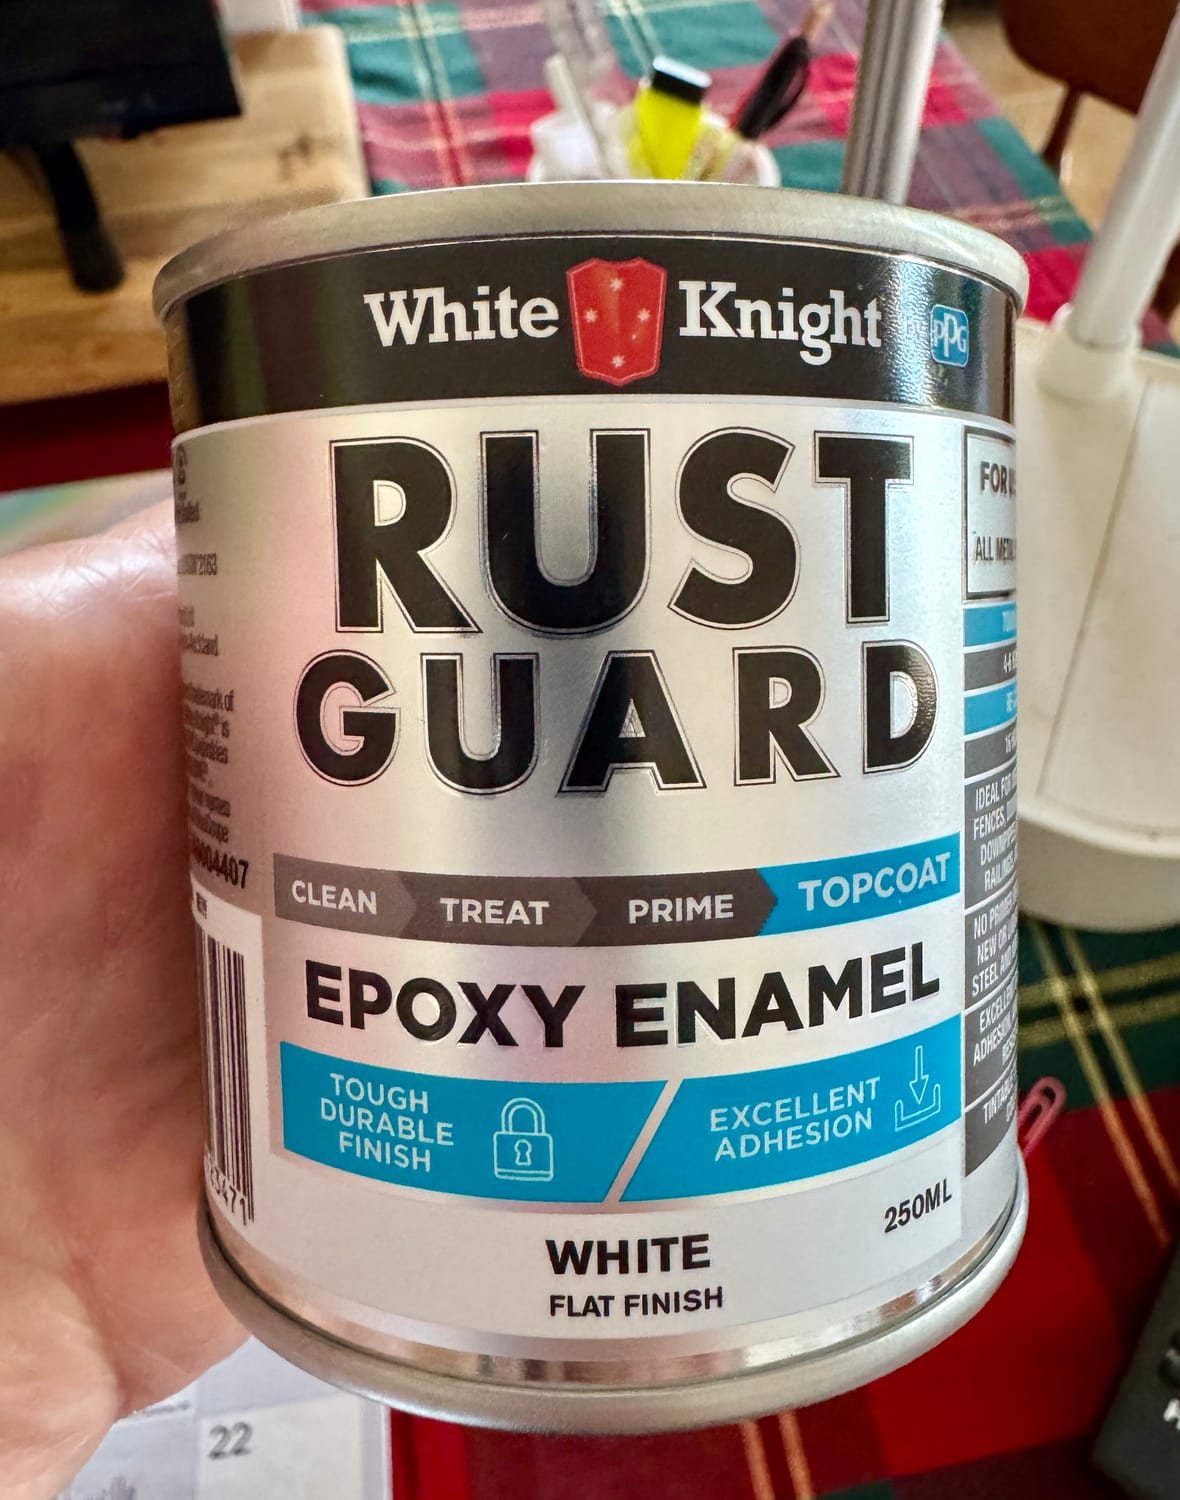
Finally, I wiped the entire interior down with sugar soap before painting it with white rust guard enamel paint.
Seeing the van completely cleaned out, sealed and painted white was such a satisfying moment. For the first time, it started to feel less like somebody else's van... and more like mine.
Cleaning out the van definitely wasn’t the most enjoyable part of the build, but my biggest tip is to just keep reminding yourself that every little task is one step closer to the end result.
You’ll probably notice me wearing headphones throughout a lot of this process — not only to protect my ears from the tools, but also because I would often listen to a movie, podcast or something enjoyable in the background to help pass the time.
Just remember… if I can do it, so can you!
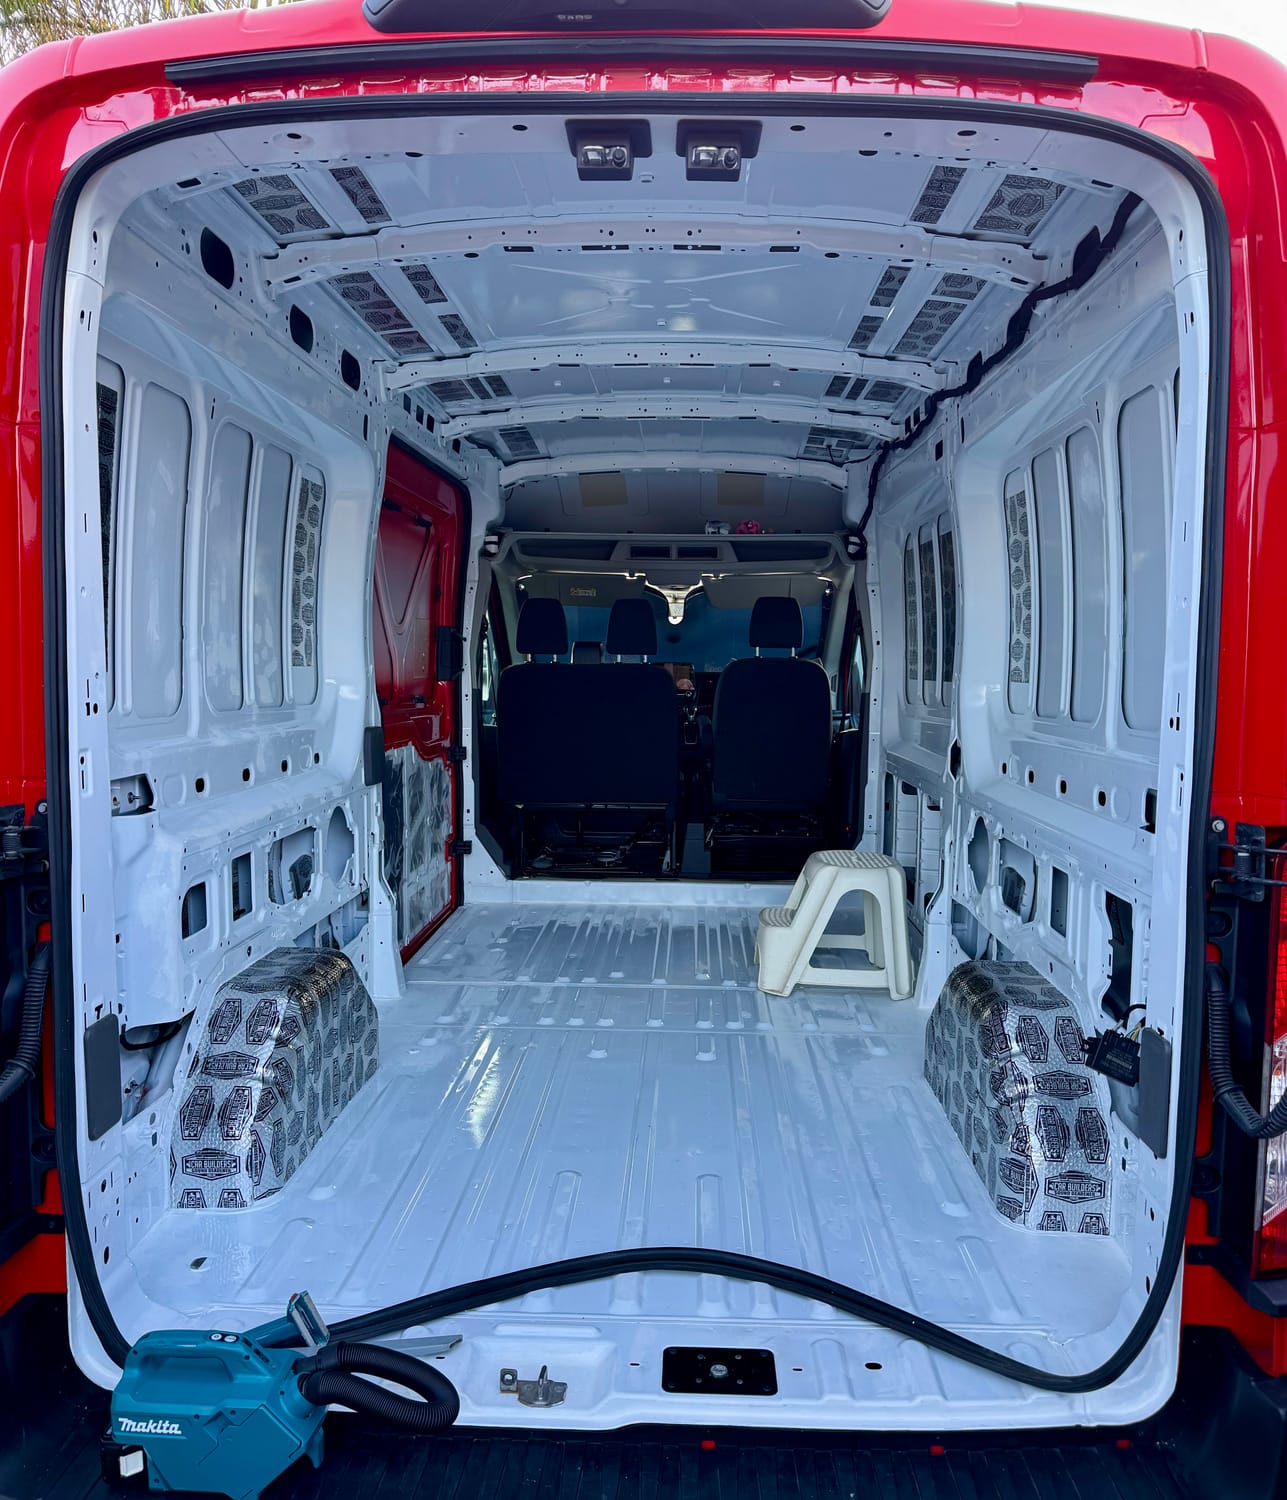
Empty van. Full of possibilities.
Every chapter is still unfolding. Thanks for being here and sharing the journey with me.
There’s still so much more to come.
Quick links
A Quick Note About This Blog
I built this blog using Systeme.io and honestly, it's become my one-stop shop for just about everything online. For $17 USD per month on the Start-up plan, I can manage my contacts, email lists, funnels, courses, campaigns, website, blog, and more—all from one dashboard.
If you've ever thought about starting a blog, website, course, or online business, you can check it out using my link in the bottom right-hand corner of this page.
Affiliate Disclaimer
Yes, there are a few affiliate links on this blog. If you purchase through one of these links, I may receive a small commission at no additional cost to you.
Every product I recommend and link, is something I have personally purchased and used during my van build. If I didn't find it useful, I didn't recommend it!
Any commissions earned help support the running of this blog and allow me to continue sharing my van build journey.
Thanks for being here and cheering on the Little Red Engine! 🚐❤️
© 2026 Adventures for Helen. All rights reserved.
All stories, photographs, videos, and content shared on this website are the property of Adventures for Helen unless otherwise stated. Please do not copy, reproduce, or distribute any content without permission.
Thank you for respecting the time, effort, and heart that goes into creating and sharing this journey.