Silence is Golden - Especially in a Van
Turns out an empty van is basically a giant echo chamber on wheels.
Before I could start building, it was time to tackle the rattles, bangs and road noise with sound deadening.
I decided to use
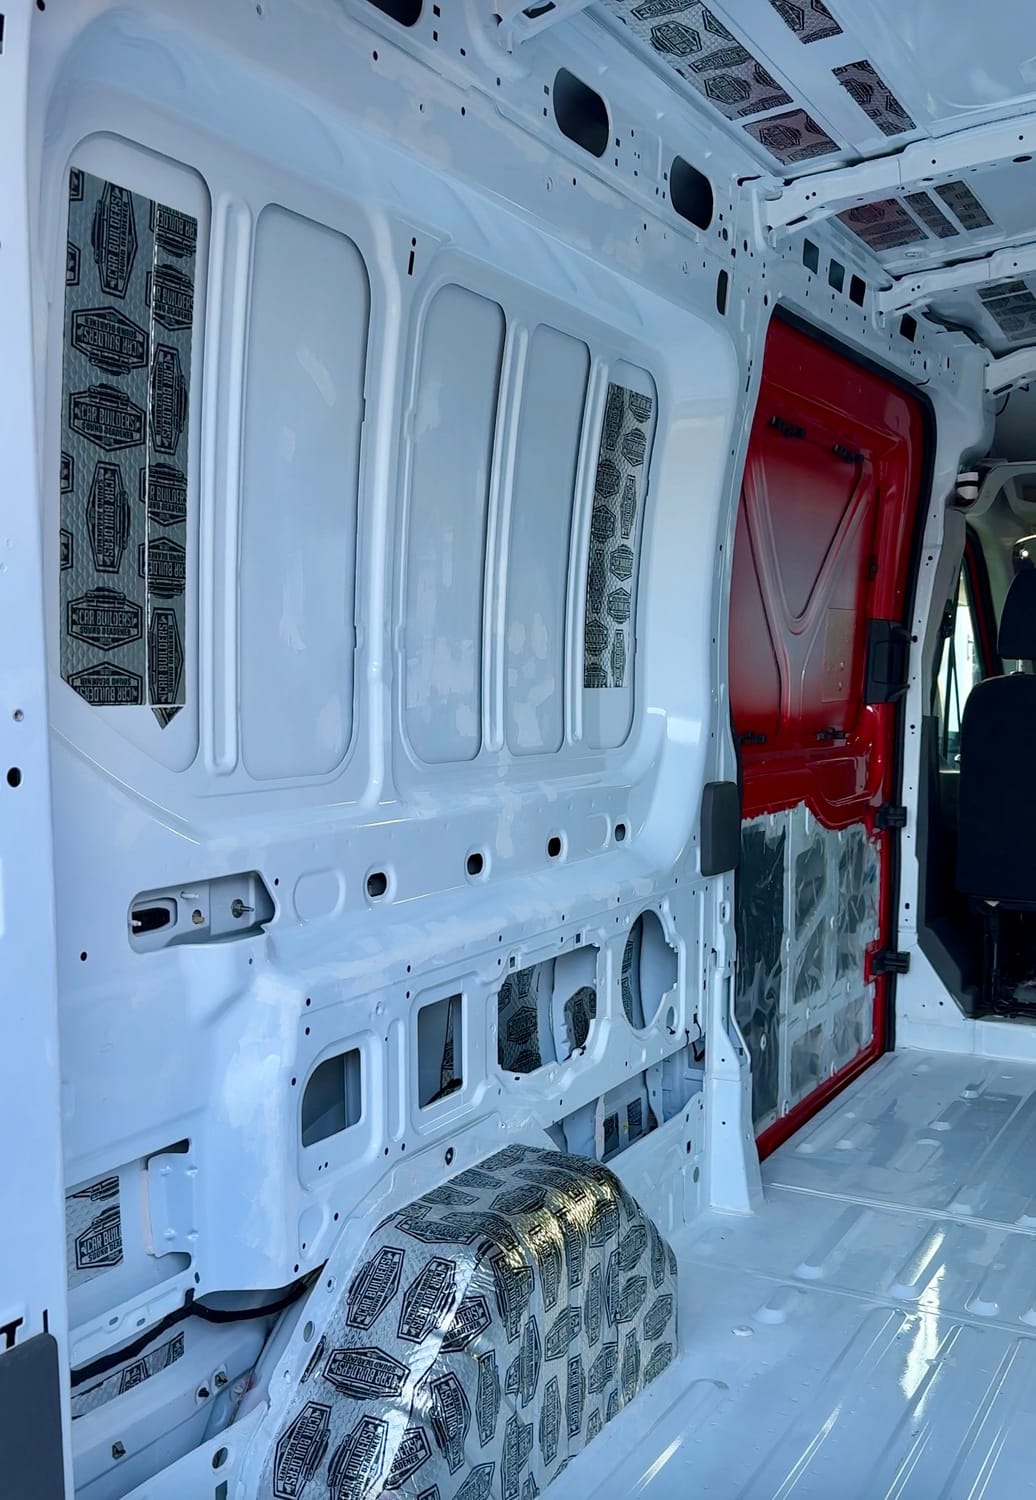
Car Builders Stage 1 Sound Deadener in silver.
(If you prefer, you can also purchase it in black).
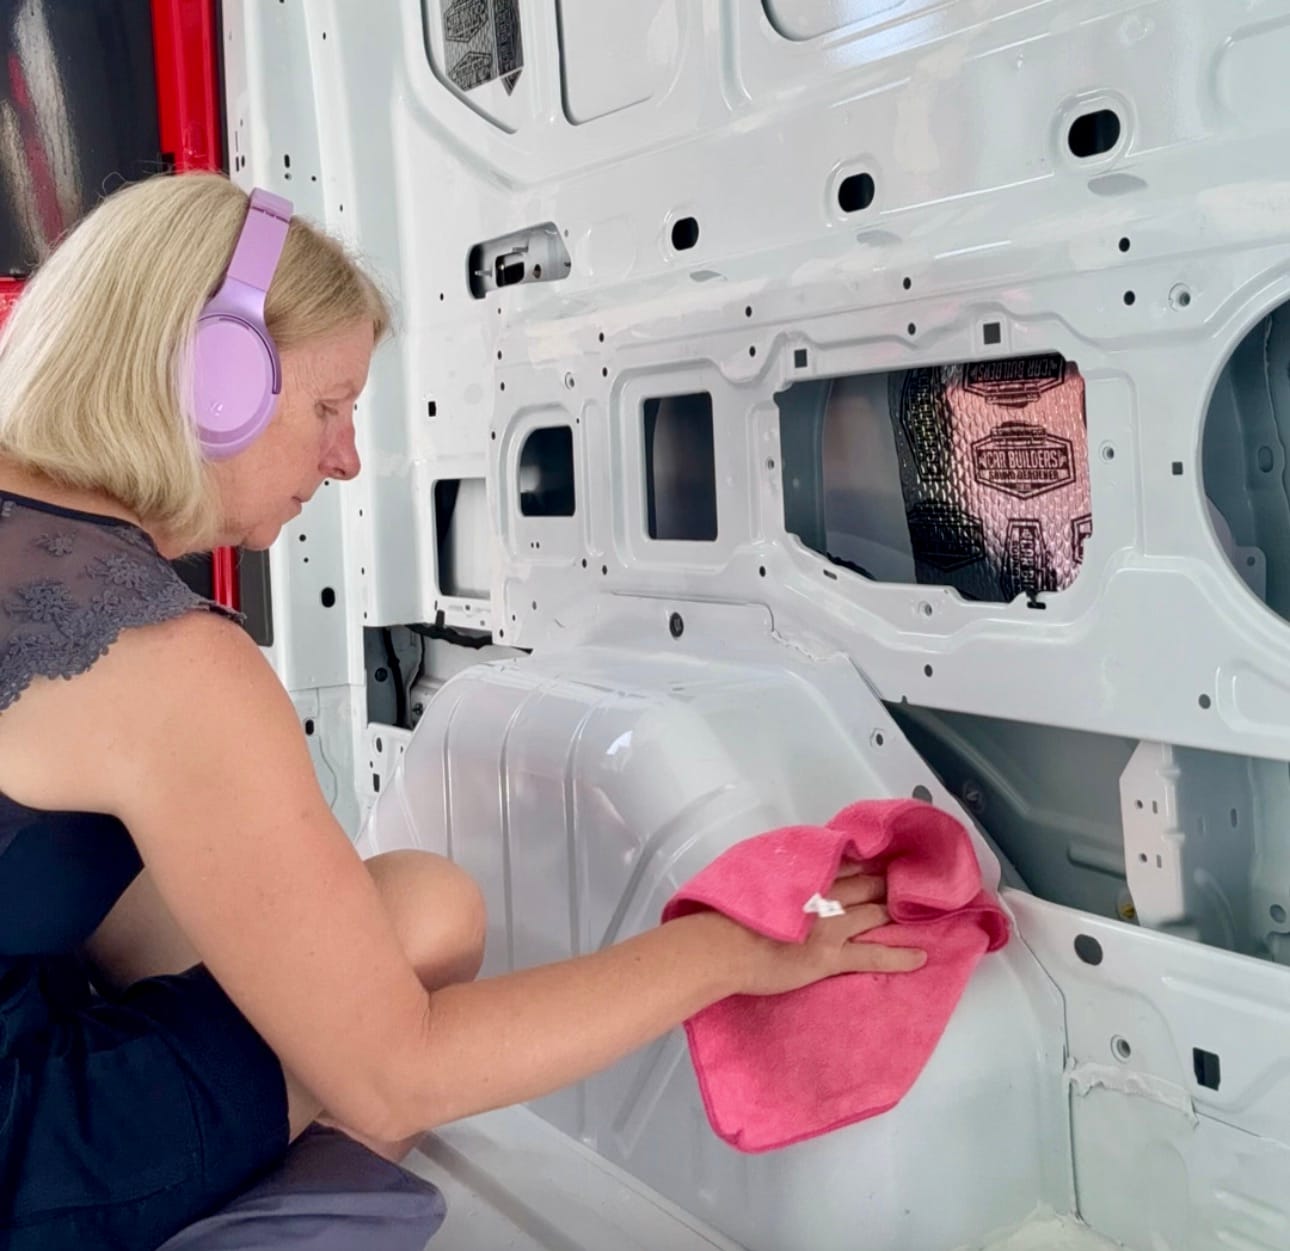
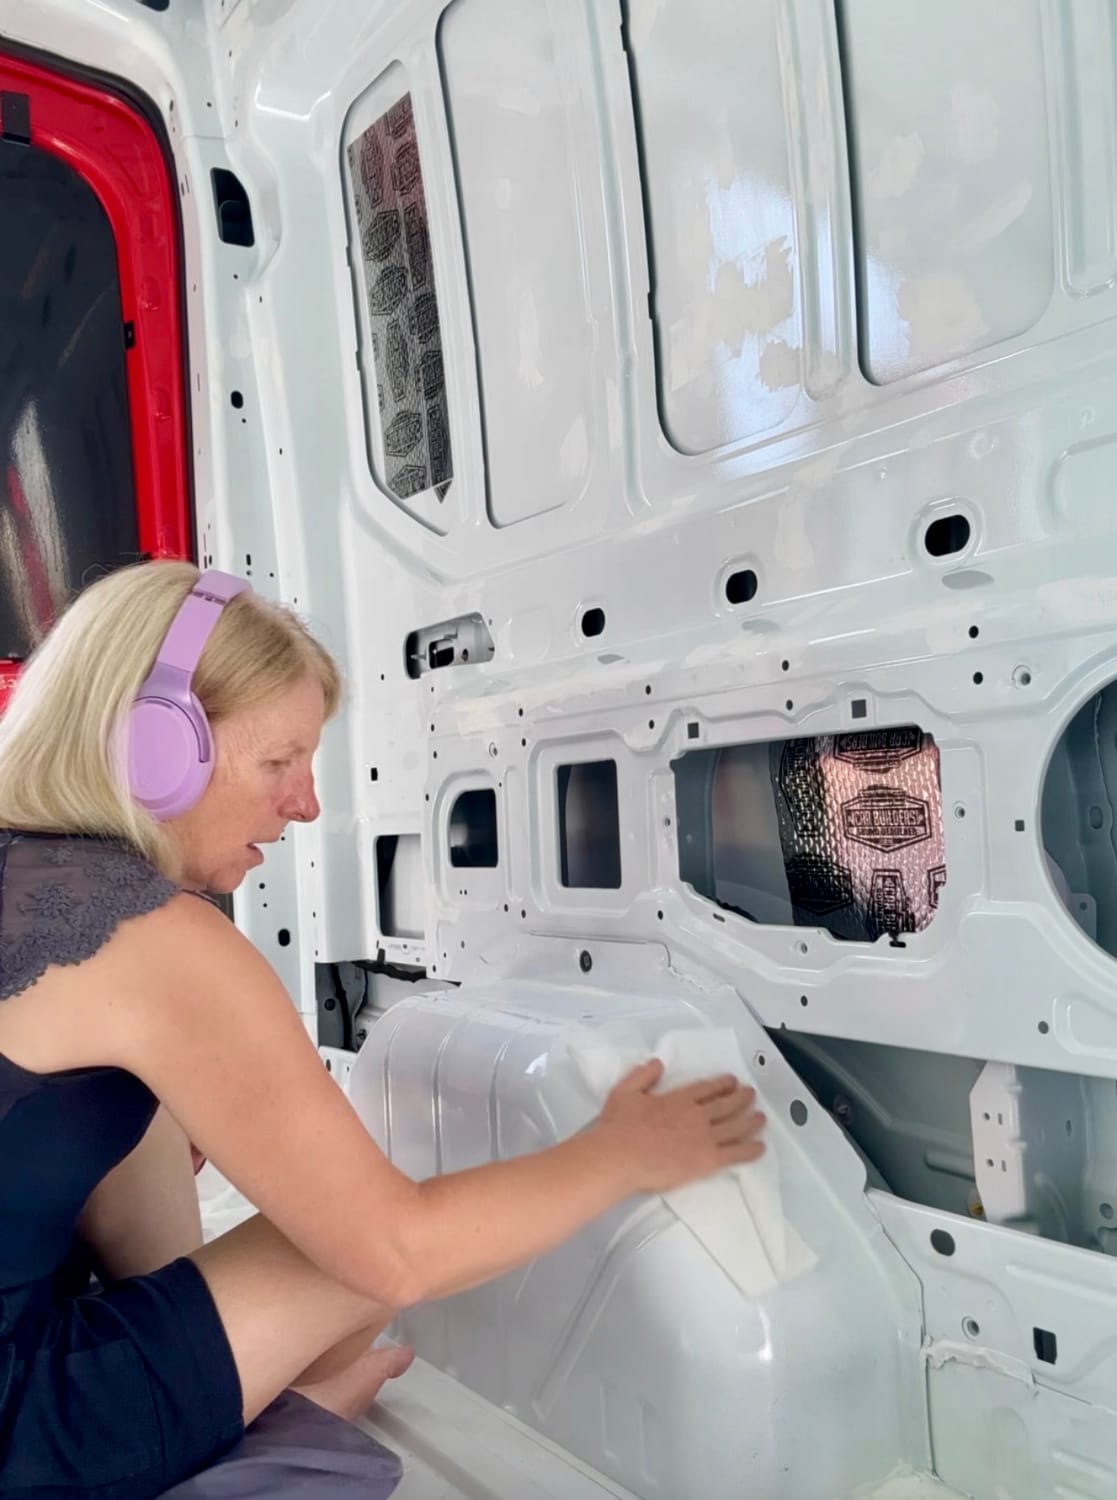
Before attaching anything, I wiped down all the surfaces with microfiber cleaning cloths, and sugar soap wipes to remove any dirt, dust and grease. Once the surfaces were clean and dry, I was ready to begin.
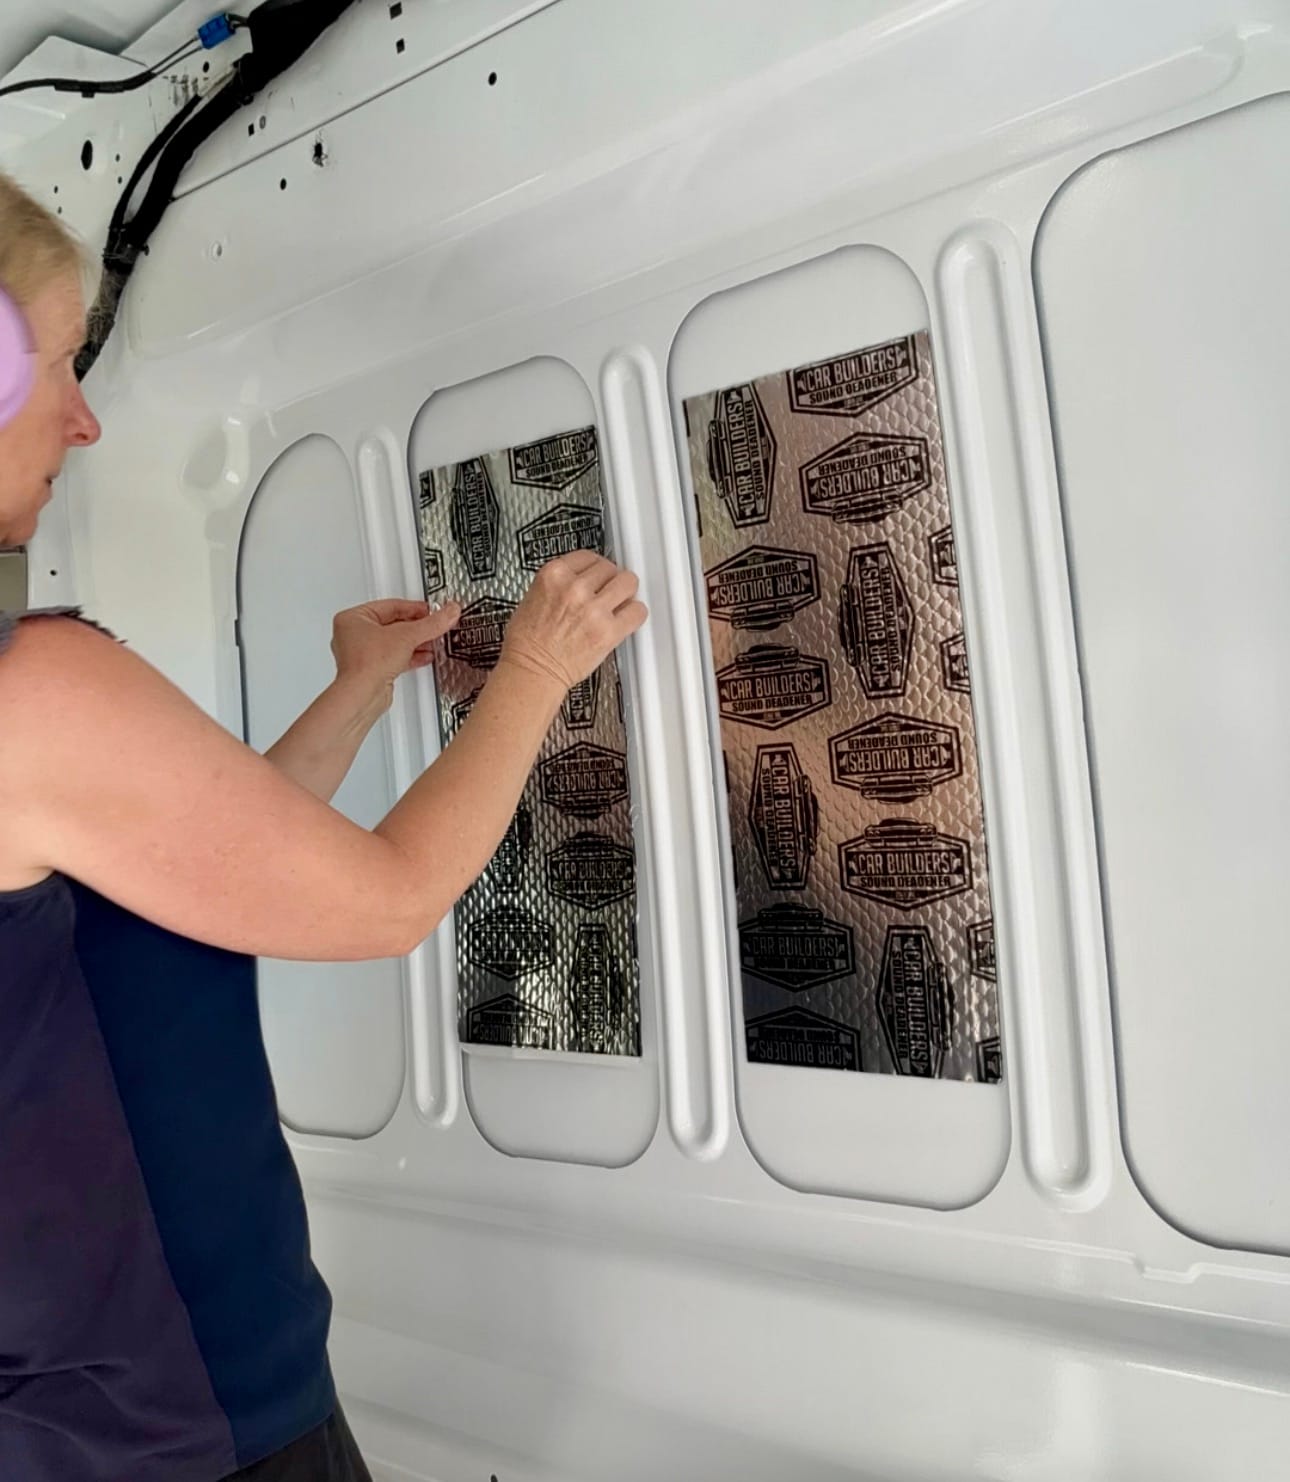
The process itself was surprisingly straightforward. I simply cut the sound deadening material to the size I needed, peeled off the backing paper and attached it to the flat metal panels inside the van.
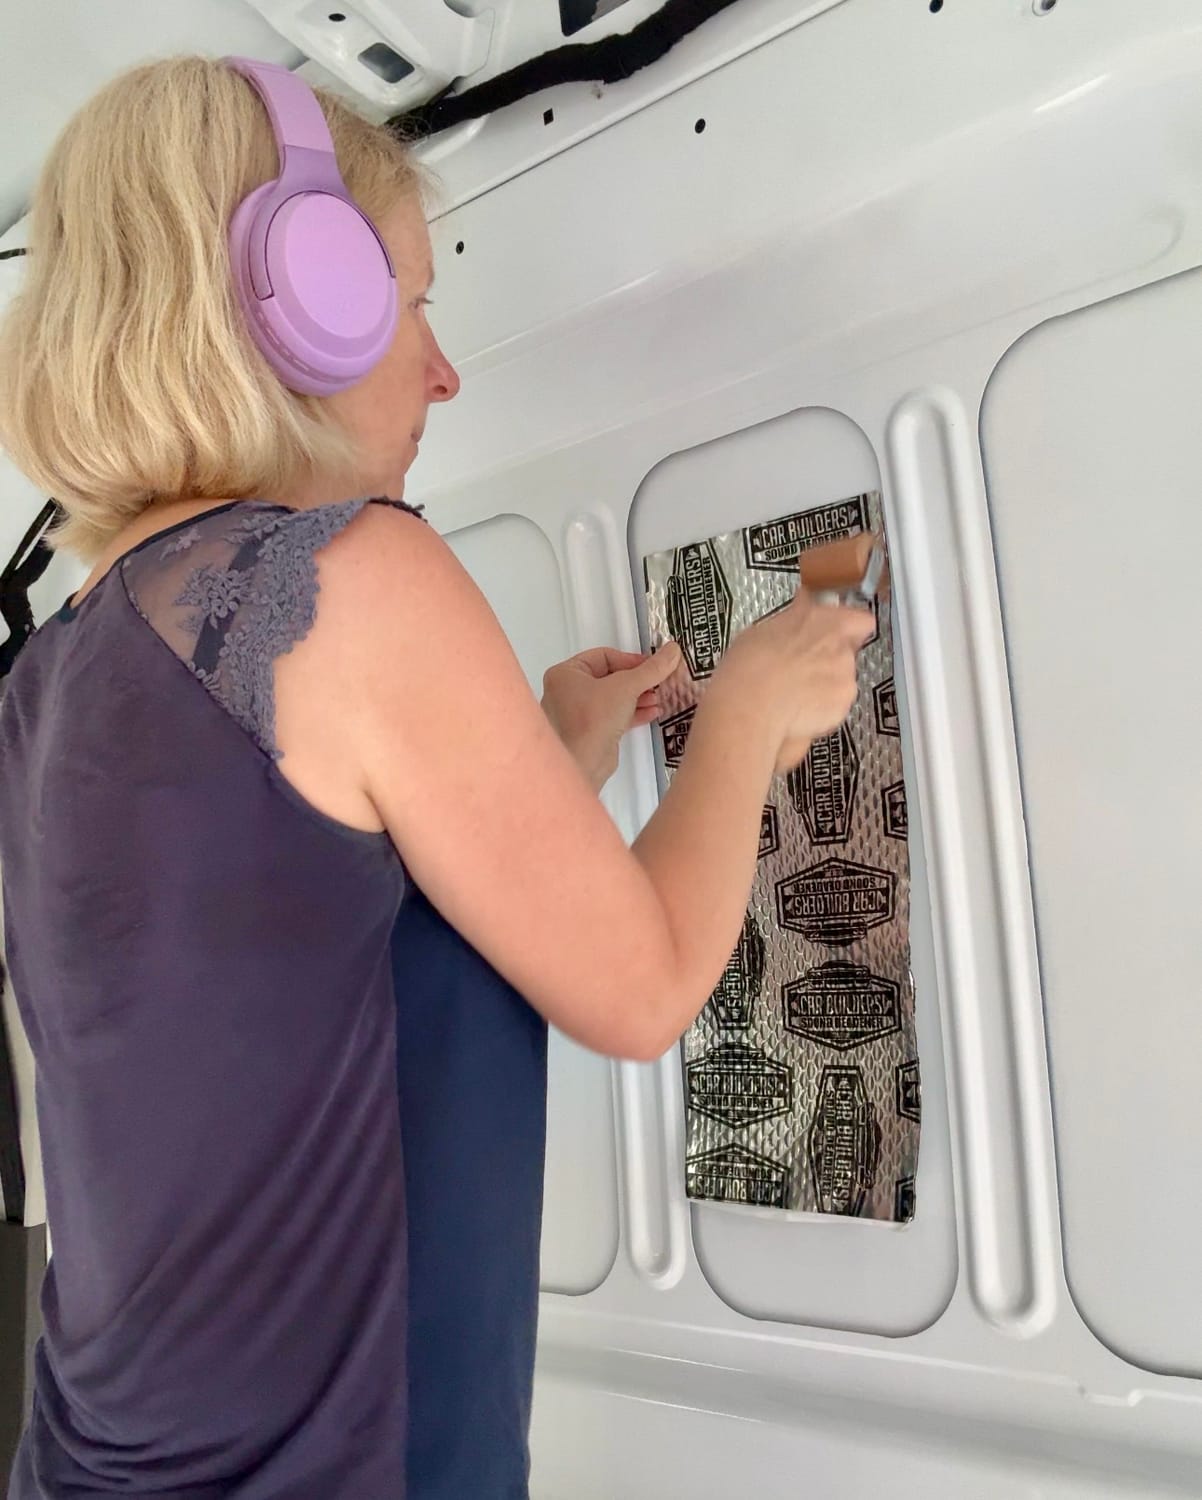
Once each piece was in position, I used the Car Builders wooden roller to firmly press it down and remove any trapped air bubbles. The roller made the job much easier. It felt sturdy, comfortable to use, and stood up well to hours of rolling. Looking back, it was a good purchase.
PS. It is much better value to purchase the wooden roller in the Car Builders Installation Kit - HERE.
I also found myself wanting things to look neat and balanced. If I placed strips on one side of the van, I often tried to mirror them on the other side. There was probably no practical reason for doing this, but it satisfied my need for symmetry!
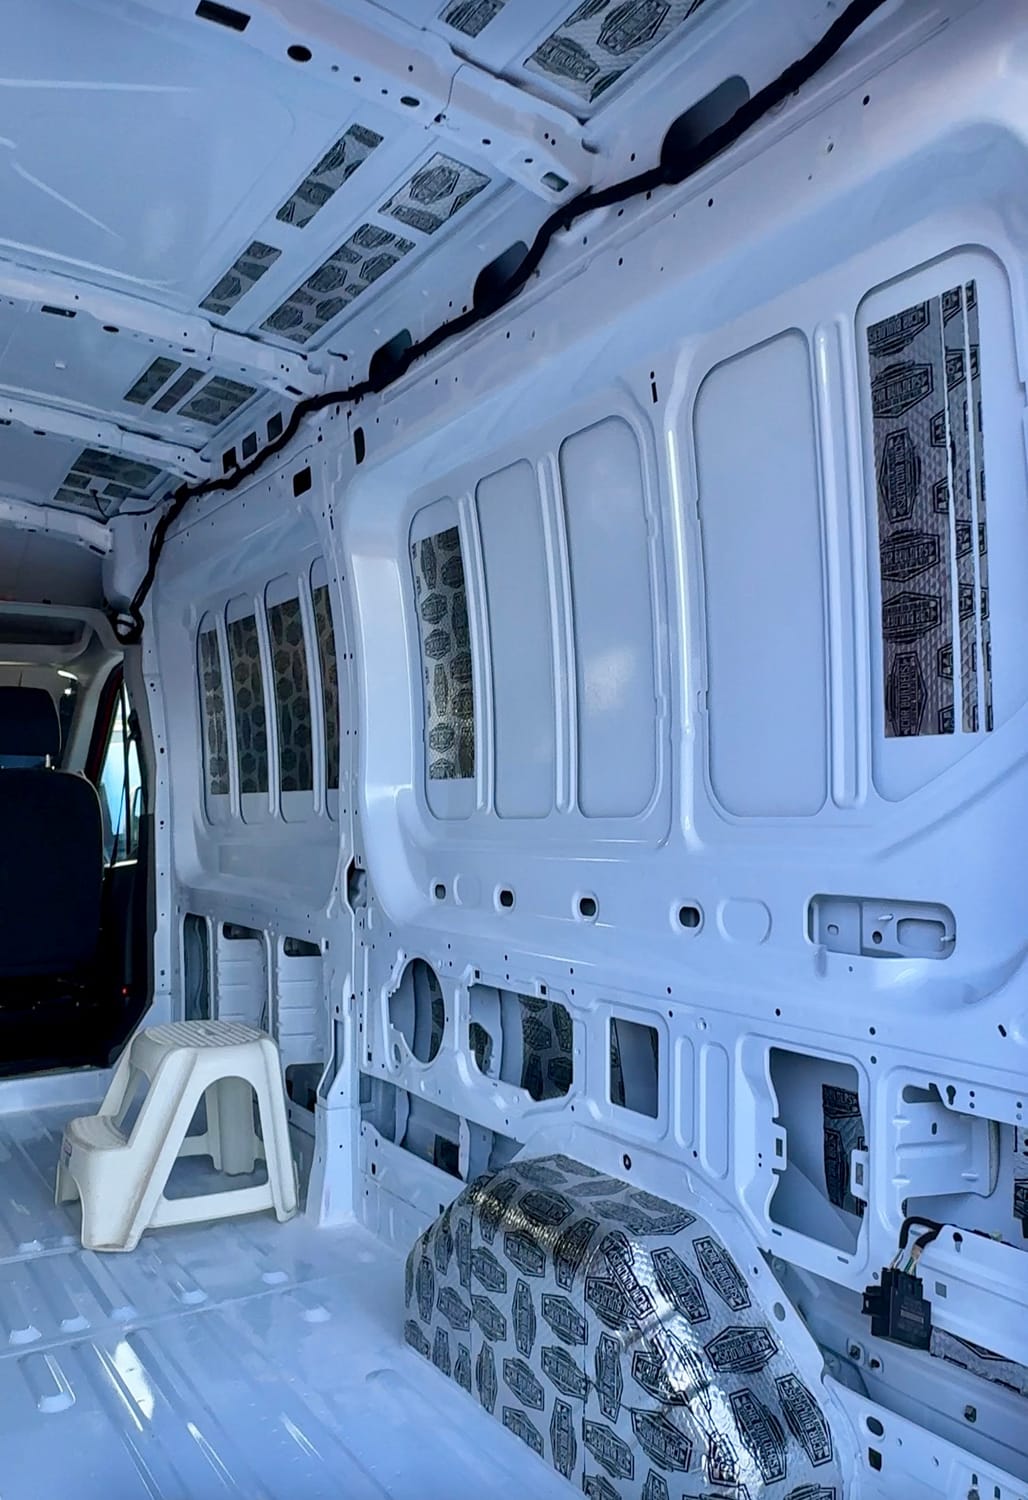

The wheel wells received special treatment. I decided to cover them completely, as they seemed like an obvious source of road noise.
As the hours passed, I settled into a rhythm of measuring, cutting, peeling and rolling. In some places, I even began arranging the strips into patterns simply because it looked more interesting. After all, if you're going to spend hours inside a van sticking silver strips of material to metal panels, you may as well have a little fun with it.
As I worked my way through the van, I tried to keep future plans in mind. I was already thinking about where I might eventually install windows, so I tried to avoid placing sound deadening material in areas that might need to be cut out later.
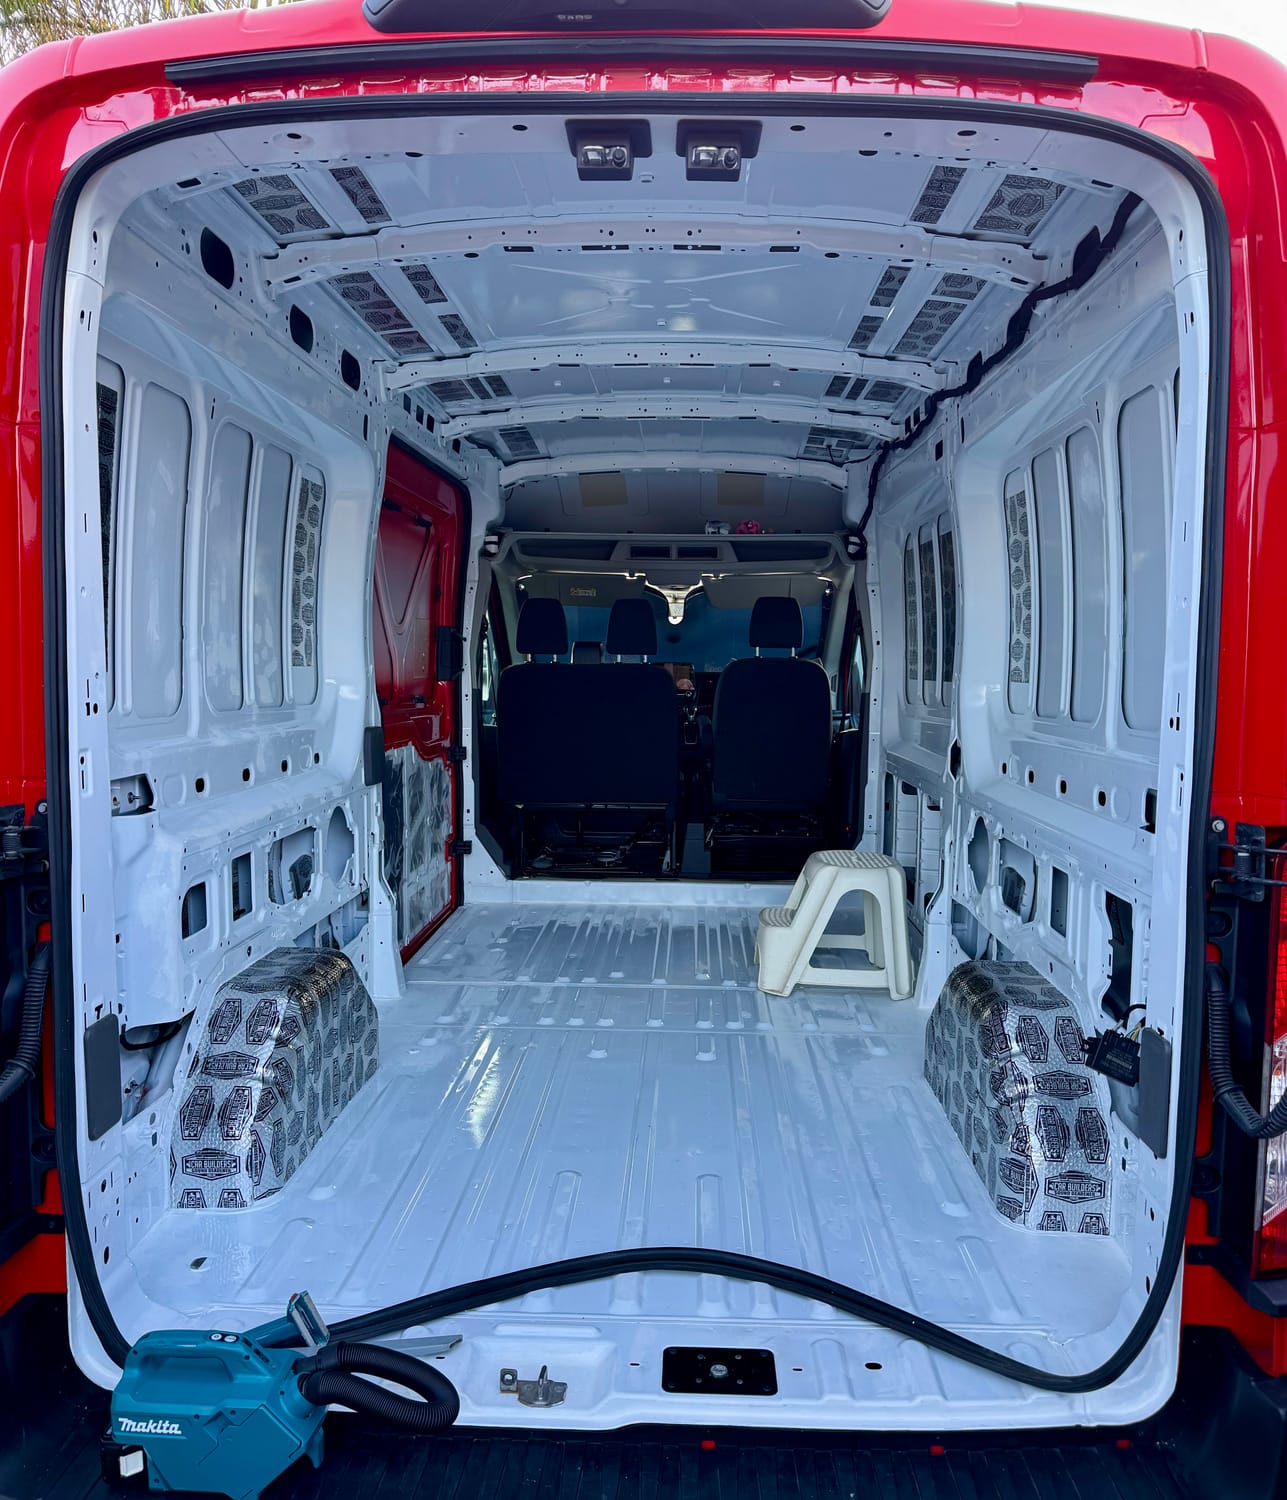
By the end of the day, the van was starting to look very different. More importantly, I had completed another step towards transforming an empty ex-tradie van into a comfortable little home on wheels.
Every chapter is still unfolding. Thanks for being here and sharing the journey with me.
There’s still so much more to come.
Quick links
A Quick Note About This Blog
I built this blog using Systeme.io and honestly, it's become my one-stop shop for just about everything online. For $17 USD per month on the Start-up plan, I can manage my contacts, email lists, funnels, courses, campaigns, website, blog, and more—all from one dashboard.
If you've ever thought about starting a blog, website, course, or online business, you can check it out using my link in the bottom right-hand corner of this page.
Affiliate Disclaimer
Yes, there are a few affiliate links on this blog. If you purchase through one of these links, I may receive a small commission at no additional cost to you.
Every product I recommend and link, is something I have personally purchased and used during my van build. If I didn't find it useful, I didn't recommend it!
Any commissions earned help support the running of this blog and allow me to continue sharing my van build journey.
Thanks for being here and cheering on the Little Red Engine! 🚐❤️
© 2026 Adventures for Helen. All rights reserved.
All stories, photographs, videos, and content shared on this website are the property of Adventures for Helen unless otherwise stated. Please do not copy, reproduce, or distribute any content without permission.
Thank you for respecting the time, effort, and heart that goes into creating and sharing this journey.